Just like every woodworker I know, I need more storage space for my tools and materials. It needs to be dust proof. The open shelves in my shop seem to attract the dust I put in the air much better than my air cleaner.
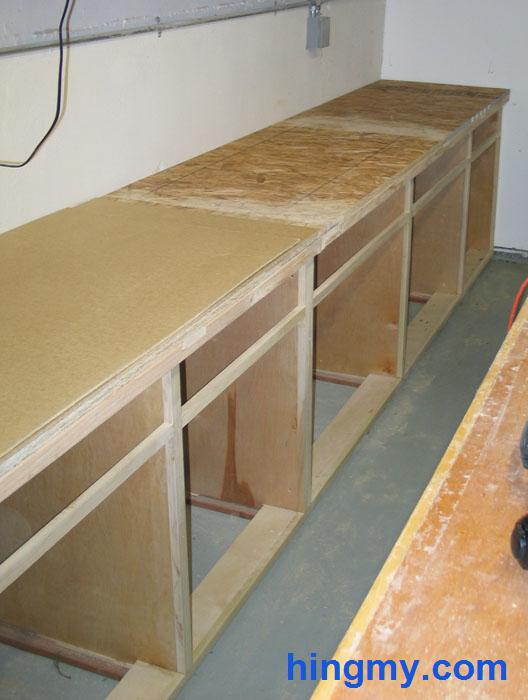
To solve my storage problem I am building counter height cabinets along the back wall of my shop. The top will be made from melamine and plywood for even more storage. Gone will be the days when I piled my fresh cut stock on the planer's outfeed table.
The Design
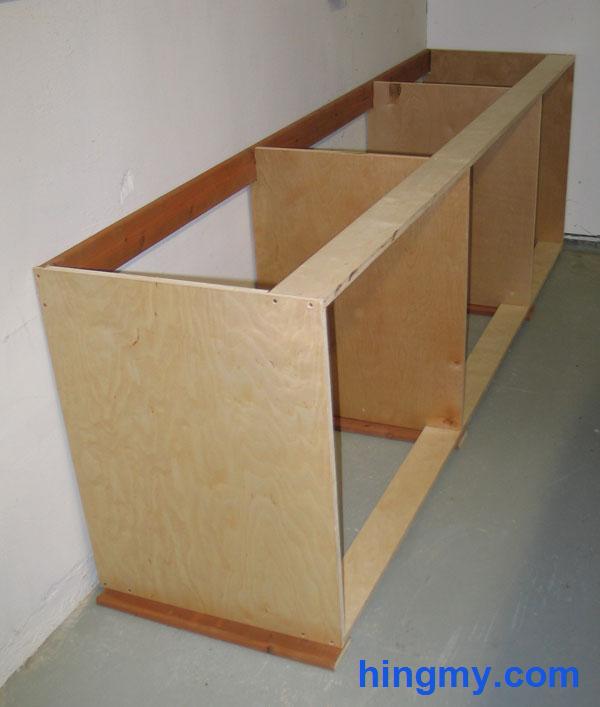
Each cabinet is built from four partitions help together with 4 thin straps. This design comes from industrial cabinets where minimal material use is required.
Two straps at the bottom establish a firm base. The strip at the top defines the front opening. The nailer at the back firms up the last axis of rotation. It is also used to attach the cabinet to the wall.
Each cleat on its own is not very strong. When all four are in place, however, the cabinet becomes sturdy. Everything will remain square, especially after the cabinet is attached to the wall.
Construction
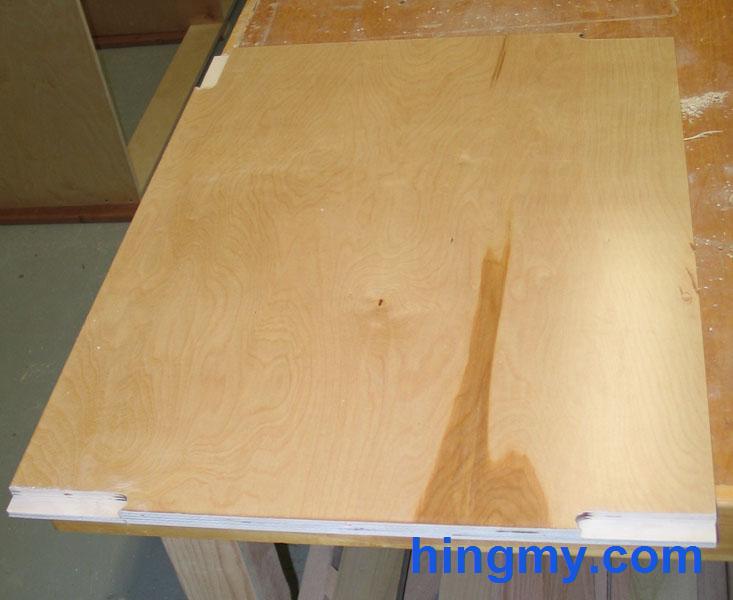
Notches need to be cut in each partition to accept the cleats. On the two middle partitions all the material is removed. On the end pieces dados are cut; or, in other words, the notches are only 1/2 the width of the material. That way the end grain does not show on the sides of the cabinet.
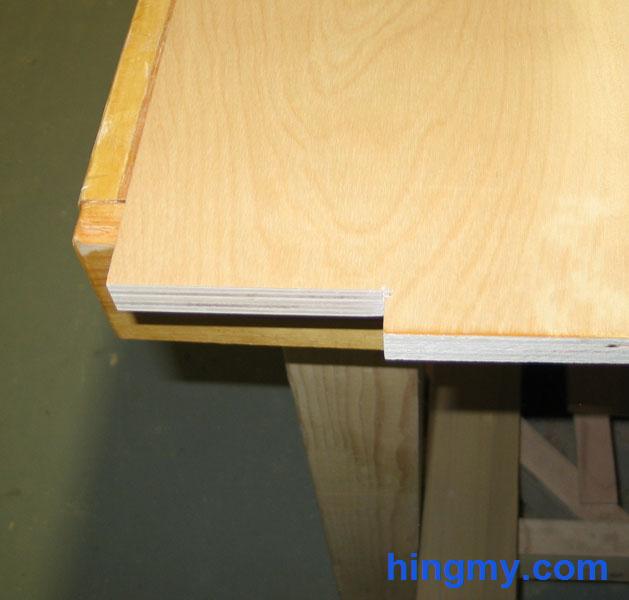
I started the cuts for the through notches on the table saw. The shoulder cut can be done with a band saw or jigsaw. The notches in the end panels are routed on the router table and squared up with a sharp chisel. Perfectly square notches are not required for stability. You can elect to remove slightly more material than needed on the router table. This saves time, but produces a somewhat sloppy looking joint.
The cabinet is assembled with glue and countersunk screws. Take extreme care to create square compartments that conform with your measurements. The drawers will bind, if the sides are out of square. I made a mistake working on mine. Believe me, it's much easier to build the cabinet properly than installing slides in a bad cabinet. I learned my lesson.
Installation
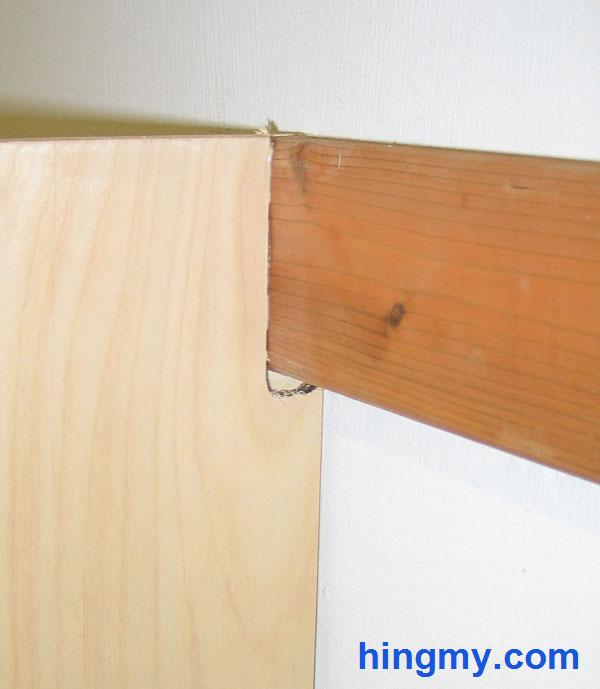
Next up the cabinet needs to be attached to the wall. Mine are concrete and required lag bolts. Screws into the home's framing will do in most cases. Since my cabinets sit on concrete, I used pressure treated wood for the nailer. I also elevated the cabinets with pressure treated sleepers. This extra step will make the cabinets last much longer.
Making the top
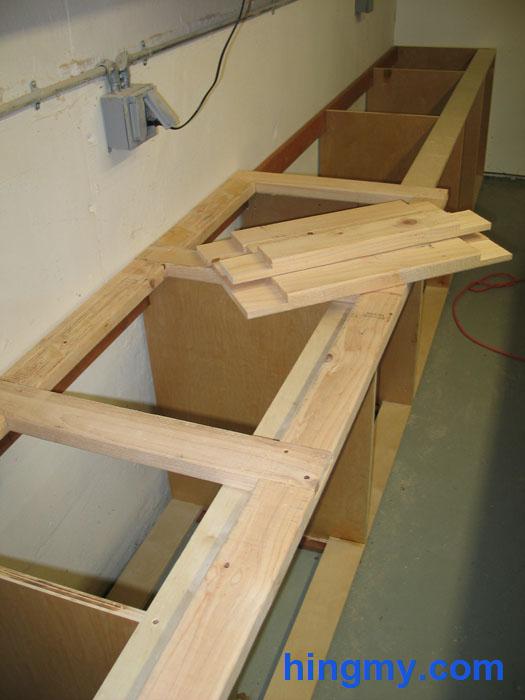
The top is made from sheet material screwed to a frame made from 2x4s. To give the frame strength I used half lap joints cut on the table saw. For sheeting I used oriented strand board typically used for sheeting homes. It works fine and was on sale at the time. The top layer is a thin sheet of melamine. If it ever gets damaged, it is easy to replace.
Summary
The design for these cabinets is not much different from a kitchen cabinet. Add a toe kick and these cabinets could be used in a kitchen.


