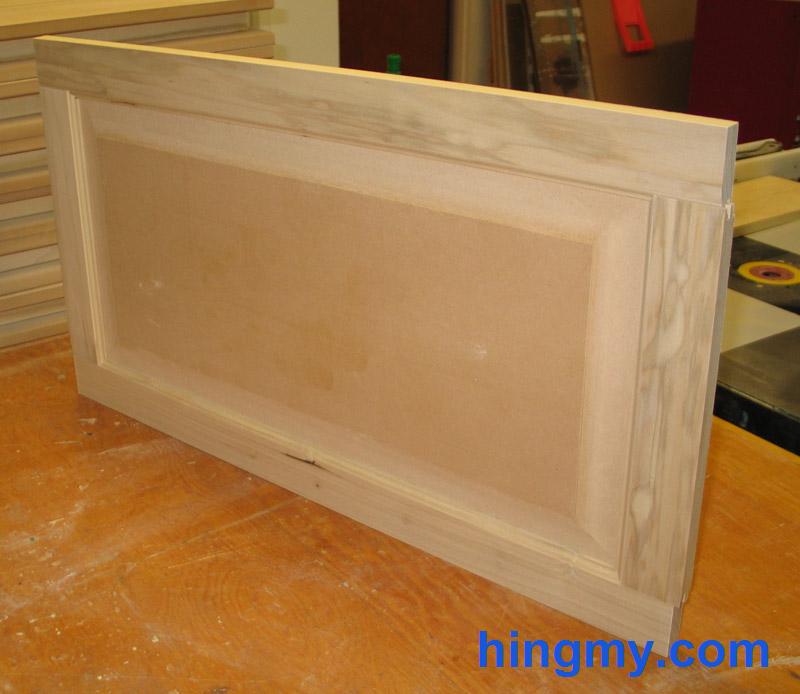
One way to create visually interesting high quality doors is rail and stile construction. The ease of construction and high quality results of this method have made it a favorite in cabinet shops.
Required Tools
The tools needed to build such a door are a table saw to dimension the stock, and a shaper to cut the appropriate profiles in each piece.
Besides a good blade for the table saw, you will need a rail&style cutter for your shaper. A multitude of cutters with different profiles are widely available online.
These cutters will cut two different profiles into the rails and stiles. Some sets include two entirely separate cutter combinations, while other needs to be reversed to cut the other profile. Cabinet shops often run two shapers to eliminate tool changeovers. Combination sets produce quality results, but setup takes marginally longer.
The panel requires a panel cutter for the profile and a straight cutter for the relief cut on the back. Panel cutters are amongst the largest shaper cutters available. Make sure the cutter fits into the table opening of your shaper.
Using a router
Both rail&stile and panel cutters are available for router tables. These should be considered hobbyist quality. Routers do not posses the power and stability required to drive large panel bits. Multiple passes for each cut will be required.
While doors can be built using a router, the investment in cutters is signifiicant. If you want to get into rail&stile door and panel construction you should consider buying a shaper. You will very quickly reach the limits of what you can do on a router table.
Door construction begins with the design

The rails and stiles need to be correctly dimensioned to create a door of the required width and height. The joints cut on the shaper create locking profiles on the rail and stiles. When assembled the piece lock into each other causing the assembled frame to be slightly narrower than the original pieces suggest. Allowances for these joints must be made when designing the door.
The cabinet door calculator does this for you. Simply enter the desired dimensions of the door and the cutting depth of your cutter and the calculator will produce a cut list for.
The cut list includes a panel. This panel fits into a groove that runs along the frame with a 1/8" reveal all around. This setup is called a floating panel. The gap allows the panel to expand and contract with the seasons.
Next, cut the parts on the table saw
Two rails, two styles, and a panel need to be cut. All parts need to be cut within 1/64". Any error in the measurements and the door will not be square. The error is amplified on larger doors. Take extra care to precisely dimension all parts.
Cut the end profile on the rails
The rails, the horizontal pieces, require profiles on each end and one along one side. The ends must be cut first due to possible tear out on the edges. Configure the shaper with the correct cutter and run the pieces through on each side. Mind the orientation of the piece and the direction of your cut. Once the first cut is made, the work piece has a front and a back. All other cuts must be made on the correct edge.
A coping sled or miter gauge helps with this operation. A free hand cut is not possible. Invest in a coping sled if you plan on producing many doors. Coping sleds can also be shop made with very little effort.
You will find that tear out is inevitable when a piece is fed through the shaper on its own. To combat this problem feed a sacrificial piece through the machine along with the work piece. Any tear out will be on the scrap piece. If you cut the side profile first, this method will not work. The rail is no longer square on the side. It becomes impossible to support the edge with a block of wood. That's why the end cuts must be completed first.
Cut the profile on the stiles and the rails
The profile along the sides of all stiles and rails is easy to cut. It aligns with the grain. The hardest part is the setup of the cutter. A gauge block, a piece of wood that has booth profiles milled into it at the correct depth, speeds up this process. Simply raise the cutter until it fits into the profile of the gauge block. The very first setup that produces the gauge block will have to be manual. Cut a test piece to make sure everything fits together nicely.
Cut the panel profile
The panel profile is a dangerous cut due to the high mass of the cutter head. Make multiple smaller passes around the panel instead of one large one. Otherwise kickback is possible. Compared to the rail&stile cutter, the panel cutter is much easier to set up. It does not have to be positioned perfectly to produce the desired result. The relief cut is the one that creates the panel lip.
Cut the relief cut on the panel
The relief cut on the other side of the panel creates a lip around the panel that fits into the groove on the rails and styles. Advance the cutter into the work piece until the panel just barely fits into the groove. The panel should not move into and out of the groove with little friction, but it should not move backward or forward. If it can, the panel will rattle in the finished door. Too tight of a fit risks slitting of the groove's walls.

Assembly
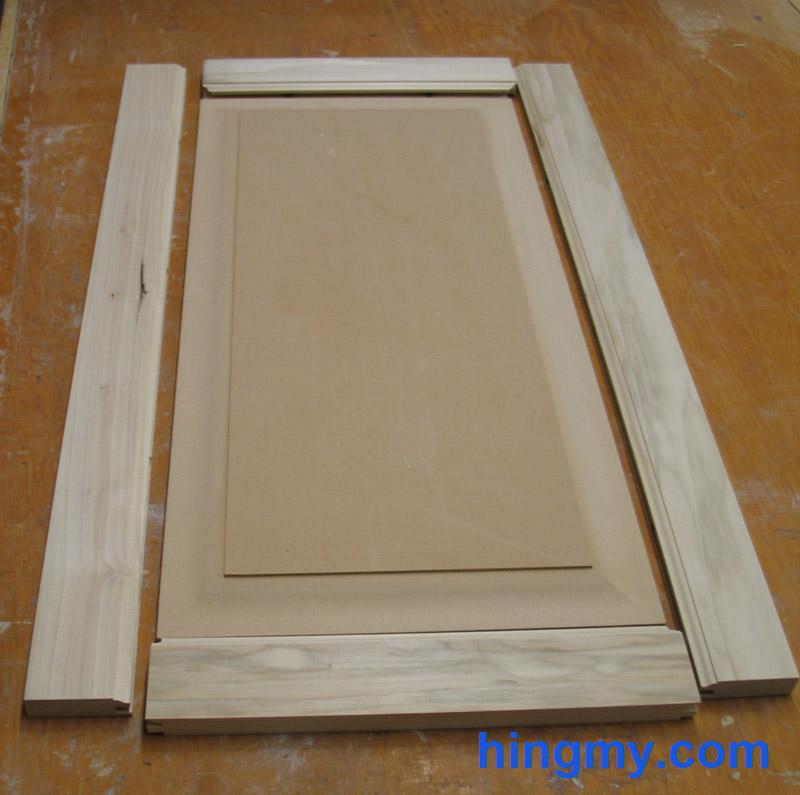
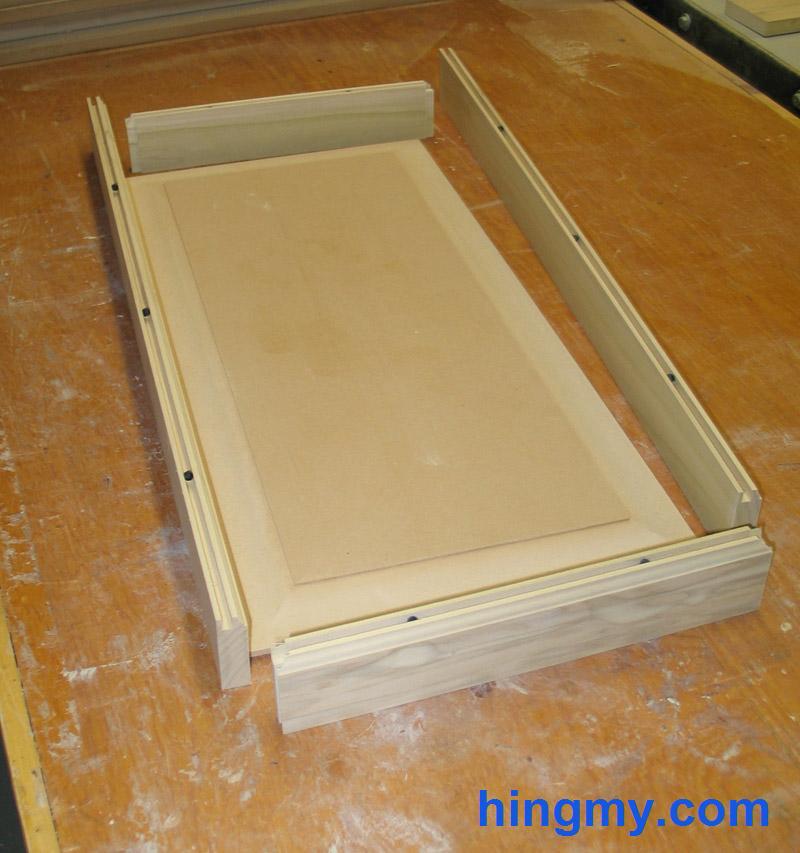
After machining the pieces will fit together like a jigsaw. Arrange the rails and style around the panel and pull them together. All joints should be tight. You will notice that aligning the panel in the center of the door can be difficult. If the fit around the perimeter is tight, the panel might even be impossible to move.
Spaceballs make assembly a snap. Spaceballs are small rubber balls that are inserted into the groove before assembly two a side. When the door is assembled the Spaceballs retreat into the 1/8 expansion we designed into the door. Since they are rubber they act like a spring under load. With Spaceballs all around the perimeter the panel is centered automatically.
If you do not have Spaceballs at hand, you must align the panel manually. Turn the door around and look at the back of the panel. The relief cut creates a ridge around the perimeter of the panel. The panel must be align in such a way that the ridge creates a uniform gap to the frame all around the panel. When that is the case, the panel is aligned.
Apply glue to the joints where the rails meet the stiles. Do not apply glue to the panel. It is allowed to expand and contract on its own. If necessary hold the panel in place with a two pin nails driven through the panel into the rails at the centers of the top and bottom edge of the panel. A drop of glue in these locations serves the same purpose.
Let the door rest in clamps for about an hour. Sand the joints flush. Your door is complete.
Summary
Rail and style construction is a very efficient method when many doors produced at a time. The results are exact and repeatable, even for a beginner. The shaper cutters require significant setup time. Once setup, the cuts flow easy. Because of this it is best to build doors in large batches.


